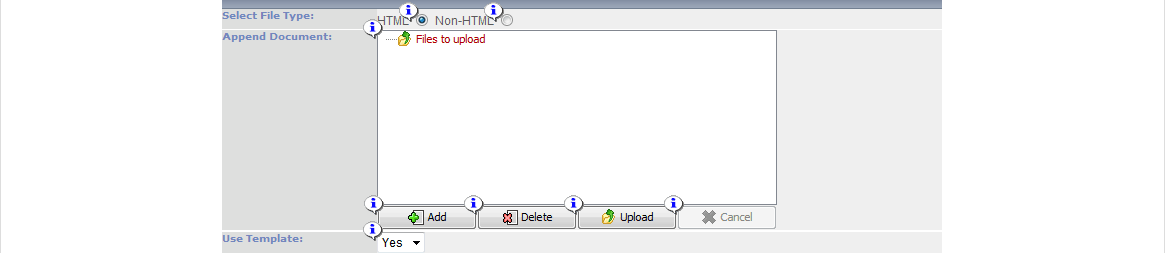
HTML radio button is on by default. It is used to upload "HTML" type files using JAVA applet. The applet allows you to automatically upload the html with its resource folder. It is useful when you have a webpage with many items, such as pictures and styles and you want to upload it all as one package. The resource folder must be the same name as the name of the "HTML" file and "_ files" at the end. For example, "document.html" will have a resource folder named "document_ files".
This is the Upload list. Once the file(s) are selected they will be listed here for upload.
Click Add button to open up explore dialog and add your file. Once a file has been added this button will become disabled and grayed out.
The Delete button is initially grayed out, you have to select already added file in the upload list and then you can use this button to remove the file from the upload list.
The Upload button is initially grayed out. You have to add a file to the upload list before it will be accessible. When it is, click on it to upload your file(s).
The Cancel button is grayed out most of the time. It lights up during the actual upload, but because the upload is very quick you will not even notice it. The cancel button is for canceling the upload transfer.
Use Template, the default value is Yes, which instructs Portal Prodigy when possible to display the document (file) within your website's template pages. Set this to "No" if you want to the document (file) to be displayed in a separate window without your website's template. Common document (file) formats such as ".htm", ".txt" and ".pdf" can be displayed within your website's template. Documents (Files) requiring third party software to host (open) the document, may not operate within your website's template. If the user's computer is not setup to auto-run the third party software required by the document (file), Portal Prodigy will prompt the user to download the file to their computer.