From the Site Administration Menu click on the  browse icon to access the Customer Statements
feature.
browse icon to access the Customer Statements
feature.
The first step is to enter the date range for the Statement
Period. This is the period of activity
the statements are to report on. E.g. if
you print statements on a monthly basis, to print them for the month of January
2004 you would enter 1/1/2004 to 1/31/2004. If you print statements on a quarterly basis,
to print them for the first quarter of the 2004 year you would enter 1/1/2004
to 3/31/2004.
The next step is to select the customers to receive
statements. To print a statement for a
single customer, enter either the customer’s Contact ID or Company ID;
otherwise check one or more of the Include Customers With criteria. E.g. to only print statements for customer’s
that have a balance that is due, check Balance Due and leave No Balance and
Credit Balance unchecked.
Set Email Statement to No.
Click  .
.
PORTALPRODIGY creates statements matching the criteria and
displays them in HTML format in a new browser window and activate the Windows
Print dialog box.
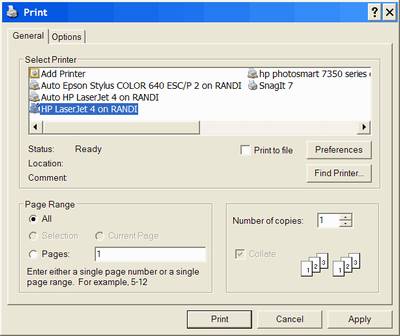
In the Windows dialog box click on the Print button to
confirm sending them to your default printer or you may select a different
printer then click Print.
 Tip: In Internet Explorer use Page Settings to
turn off header and footers; set top and bottom margins to .75; and set left
and right margins to .5.
Tip: In Internet Explorer use Page Settings to
turn off header and footers; set top and bottom margins to .75; and set left
and right margins to .5.


