Describes step-by-step how
customers purchase products from the Product Catalog.Once the customer selects a product there are
five major steps (pages) to complete the checkout (purchase) process. The
process for requesting a quote and placing a bid are described in separate
sections of this chapter.
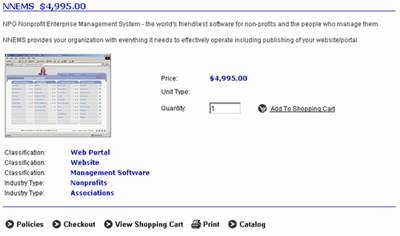
The Customer browses the Product
Catalog and clicks on a Product to view its Product Detail page.
The Product Detail page provides
detailed information about the Product along with various options as shown
below.
One of the options is the purchase
quantity. The customer may select a different quantity than the default
value of 1.
If the product is available in
different colors and sizes, the customer may select from the available
choices.
When finished selecting options, the
customer clicks .
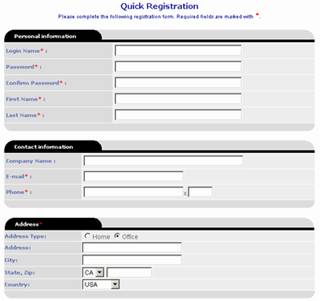
a.The
first time the customers adds an Item to their Shopping Cart, PORTALPRODIGY
will prompt them to login or signup.
First time customers need to click on
option.
The first time customer is then
presented with the Registration page that has been defined in Signup
Features Management.
The customer must complete all fields
marked with a red asterisk.
When finished completing the form, the
customer clicks to save the page and return to the
Product Catalog.
At any time the customer may view
their shopping cart by clicking .
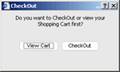
When the customer is finished shopping
they clicks to complete the order process.
The customer may view their cart first
or proceed directly to checkout.Click on Checkout button to proceed directly to checkout.
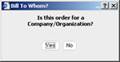
The customer is prompted asking them
if their order is for their Company/Organization.The customer clicks “Yes” if for “Company/Organization”
and “No” for an individual.
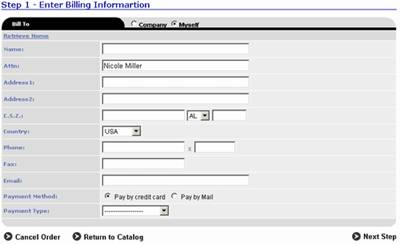
The customer must now complete Step
1: Enter Billing Information
page.
The customer may click on Retrieve
Home or Retrieve Office links to auto-fill from their Contact record
which is created as a result of the Registration (Signup) process.
The customer may select a Payment
Method or select the default.The
available Payment Methods are defined in Site Administration.
The customer must select a Payment
Type from the available list, such as “American Express”, “Master Card”,
or “Visa”.Payment Types are
defined in Site Administration.
When finished completing the Billing Information
page, the customer clicks .
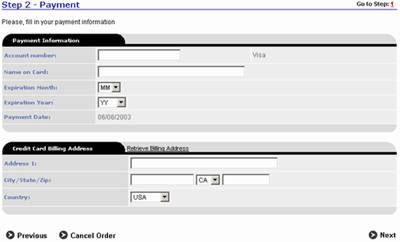
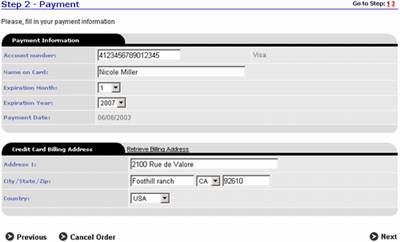
Now the customer must complete Step
2: Payment page.
The information requested on the
Payment page is dependent on the Payment Method selected by the customer
in Step 1.Whether the Credit Card
Billing Address is included is dependent on the settings in Payments
Features Administration. The customer may click the Retrieve Billing
Address option to copy the Billing Address from Step 1; otherwise the
customer must enter their credit card billing address.
When finished completing the Payment
information page, the customer clicks .
If Automated Card Authorization is
turned on, the customer will be prompted with the message “Please wait
while authorizing your credit card transaction”.If the transaction is declined or an
error occurs, an explanation message will be displayed along with
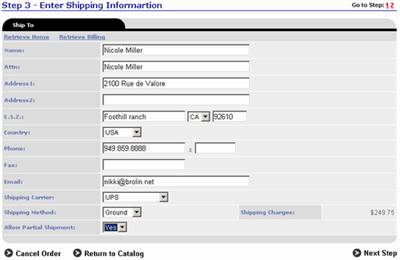
appropriate instructions; otherwise the Customer will be asked to complete
Step 3: Enter Shipping Information
page.
The customer may click on Retrieve
Home , Retrieve Office or Retrieve Billing links to
auto-fill the required information.
The customer may select a Shipping
Carrier or select the default.When
a different Carrier is selected, the available Shipping Methods change
according to the selected Carrier.The available Shipping Carriers and Methods are defined in Site
Administration Shipping Carriers Feature Management.
The customer may select a different
Shipping Method or accept the default.Each time either the Shipping Carrier or Method are changed, the
Shipping Charges are automatically recalculated.
If Prompt Customer for Partial
Shipment is turned on in Site Administration Product Features Management,
the “Allow Partial Shipment” option is included in the page.The Customer may accept the default of
“Yes” or change to “No”.
When finished completing the Shipping Information
page, the customer clicks .
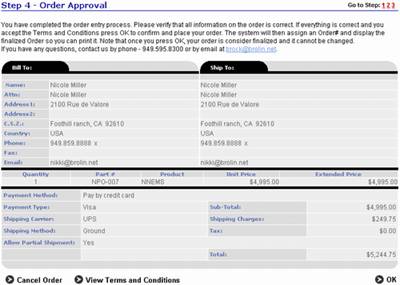
From the Step: 4 Order Approval
page, the customer may click on View Terms and Conditions.
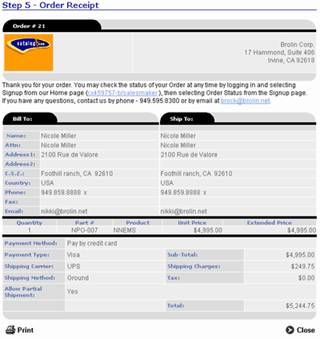
To complete the checkout process the
customer is required to approve their order by pressing .Once this step has been completed the
order is finalized and the Step 5: Order Receipt page is displayed
in a printer friendly format.
The customer may print their Order
Receipt then click to return to exit the checkout process.